 ARCADE
Level design for beginners: 9 tips with real examples
Good level design comes down to a few habits: teach one idea at a time, show danger before it hurts, put checkpoints after hard parts and let players breathe between challenges. Here are nine of them, with examples you can play and a checklist for your next level.
Level design is the craft of building the spaces where a game is played: where the platforms go, where the enemy waits, where the key is hidden, where the player can rest. Mechanics are the verbs of a game (jump, shoot, hide). Levels are the sentences you write with them.
You do not need to draw or code to design a good level. You need to think like a player. The tips below work for obbies, horror games, racing tracks and arenas alike.
The level design loop: teach, test, twist
Most well-made levels bring in each idea in the same three beats, then pay the player off. Once you know the pattern, you notice it everywhere.
Teach
Show a new idea in a safe place. A gap you cannot fall to your death in. A slow first enemy.
Test
Ask the player to use it for real, with a small risk.
Twist
Combine it with something else, or change one rule.
Reward
A checkpoint, a coin, a view. Then teach the next idea.
Example: a moving platform first appears over solid ground (teach), then over a pit (test), then next to a swinging hammer (twist). The player never feels cheated, because they learned each part before it got dangerous.
The most studied example is World 1-1 of Super Mario Bros. The first Goomba walks straight at you on flat ground, so you learn to jump on it or over it with nothing else at stake. The first mushroom slides away, bounces off a pipe and comes back to you, so even a nervous player ends up grabbing it.
9 level design tips
1. One new idea at a time
If a section introduces narrow beams, moving platforms and lava all at once, the player does not know what killed them. Bring in one idea, let the player master it, then add the next. Obby Part 3 spreads twenty obstacle levels that get trickier as you climb, instead of putting every trap in the first one.
2. Make the goal visible
Players move with more confidence when they can see where they are going. A golden tower on the horizon, a glowing exit, a summit you can see from the start. With the goal in view, they plan their route and feel progress with every step. Ninja Warrior makes the summit of its stadium course the target from the first jump.
3. Use landmarks so players never get lost
In open or maze-like levels, give each area something memorable: a red door, a broken statue, a giant tree. Players navigate by landmarks, not by map. This matters most in horror: a maze like Misremembered: Backrooms is unsettling because every yellow room looks alike, which is exactly the feeling it wants. Only break this rule on purpose.
4. Place checkpoints with care
A checkpoint should come right after a hard part, never right before. Losing two minutes of progress to one jump makes people quit. Losing ten seconds makes them try again. 67 Obby and Speed Surge Obstacle Run both lean on checkpoints so a fall costs little.
5. Pace the tension: up, down, up
Nonstop intensity wears players out, and worn-out players get bored. Alternate hard sections with calm ones: a fight, then a quiet corridor with a reward; a tricky jump sequence, then a wide safe platform with a view. The calm part makes the next hard part feel harder.
6. Show before you punish
Players should see a danger before it can hurt them. A trap that kills you the very first time you meet it, with no warning, feels unfair. Give a glow, a sound, a crack in the floor, a shadow. In horror games, show the monster from far away once before it ever chases you.
7. Guide with light, color and lines
You can lead players without a single arrow. People walk toward light, follow paths, notice the one bright color in a dull room. In Burden's Maze, fuses to collect need to catch the eye in the dark, or players wander forever. A racing track does the same with boost arrows and the shape of the road.
8. Give choices, not just a corridor
Even a straight level can offer small choices: a risky shortcut and a safe long way, a hidden coin off the main path, two routes around an enemy. Choices make players feel smart and give them a reason to replay. On Going Cars: Sky Track, the gems and boost arrows along the wooden track reward racers who take the tighter line.
9. Playtest with someone else
You know where everything is, so your own level will always seem easy to you. Watch someone play without helping. Where do they stop? Where do they look? Where do they fall again and again? Those are the spots to fix.
Levels to study, all made on Arcade
Play one with this page in mind and you will spot the teach, test, twist pattern.
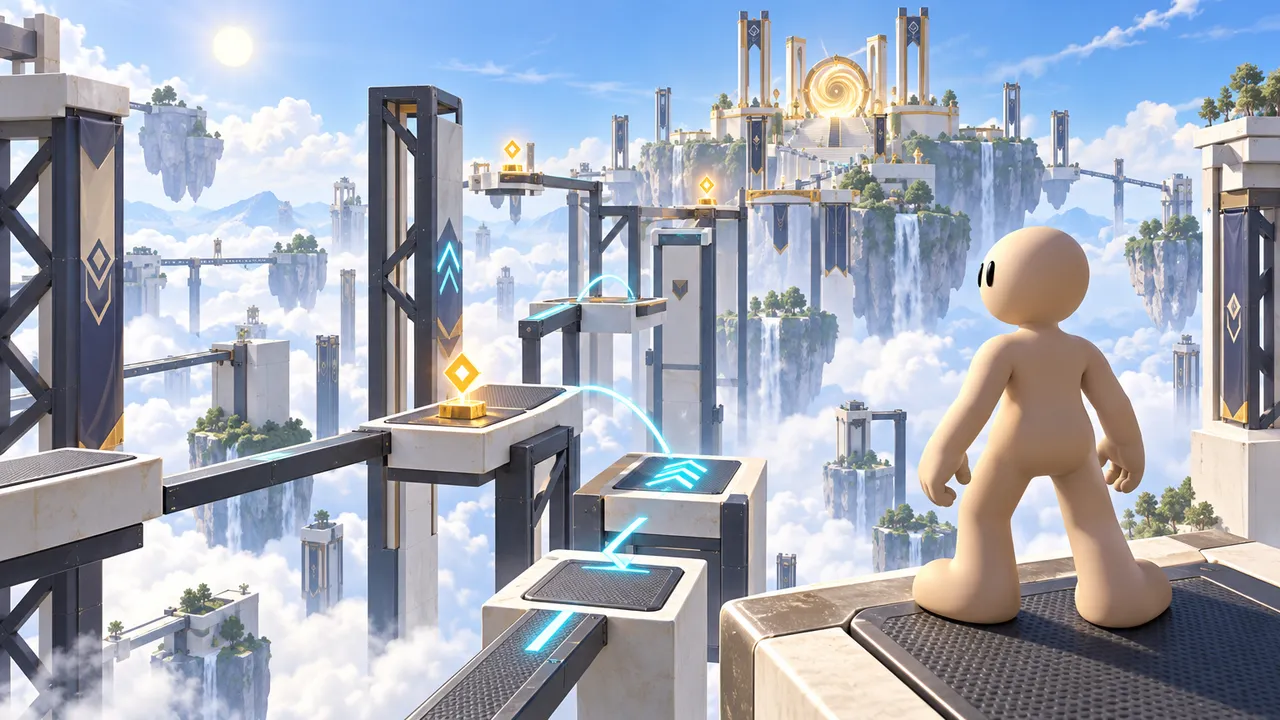
Climb a demanding sky-high parkour course with precision jumps and narrow beams. Reach the summit, using checkpoints to master each section.
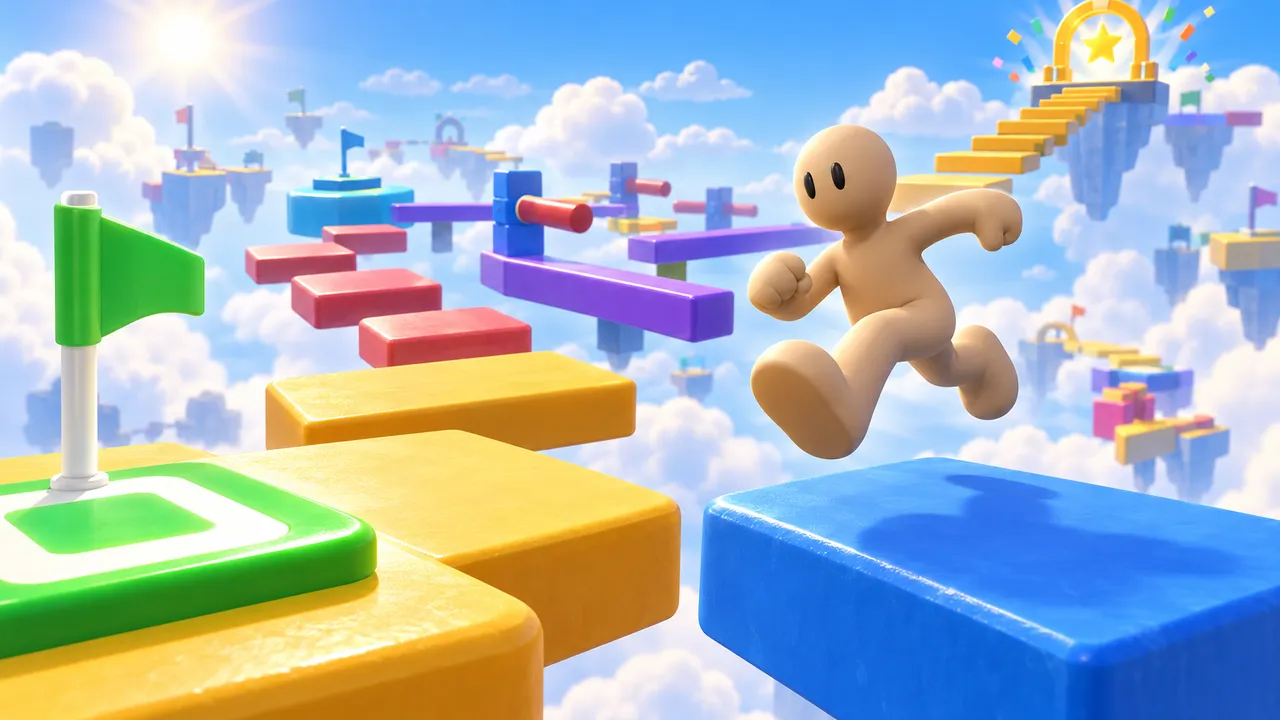
Leap across a colorful sky course, master narrow beams and stepping stones, and reach the finish. Checkpoints keep every fall a chance to try again.
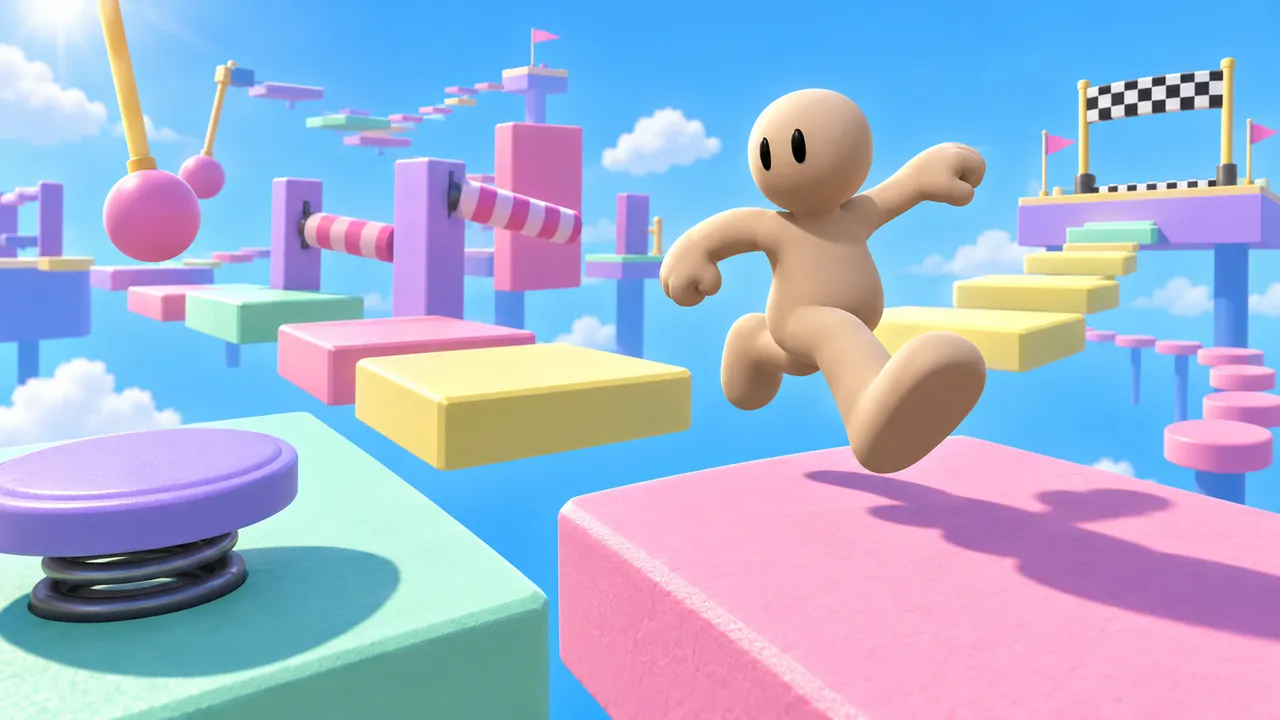
Twenty obstacle levels that get trickier as you climb, with checkpoints to catch your falls.
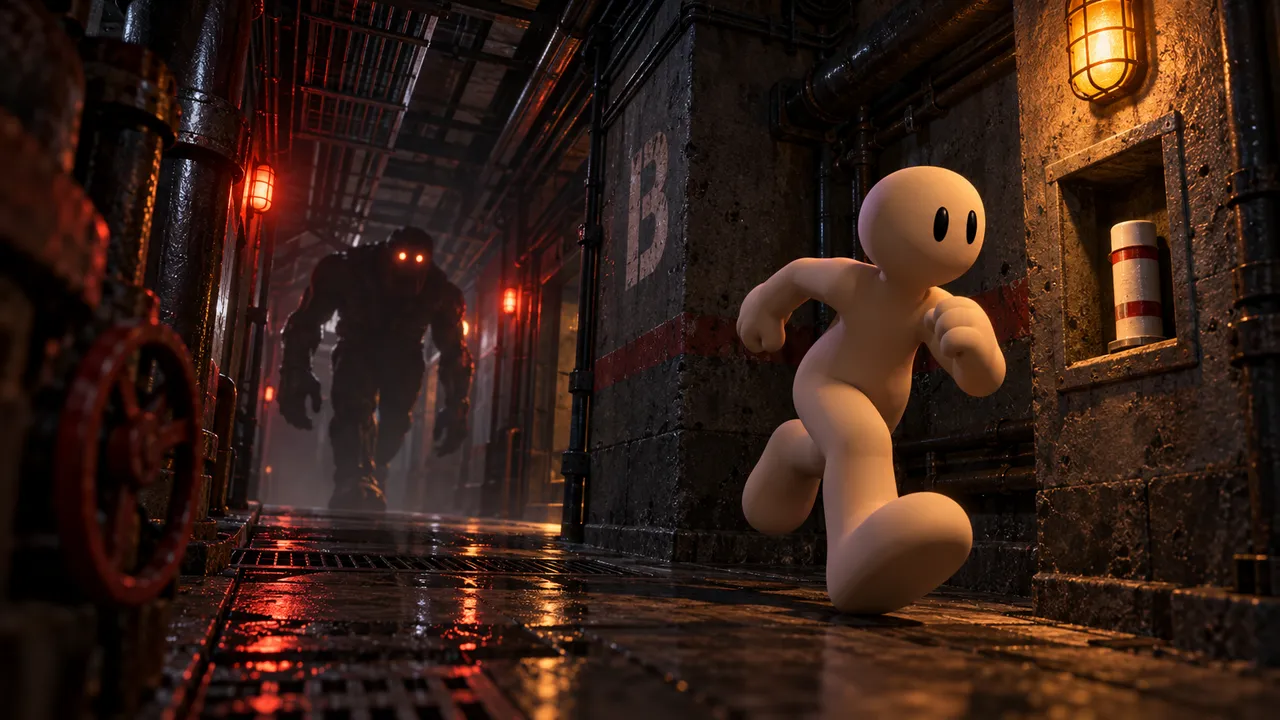
Run from the monster, collect fuses and escape the deadly maze.
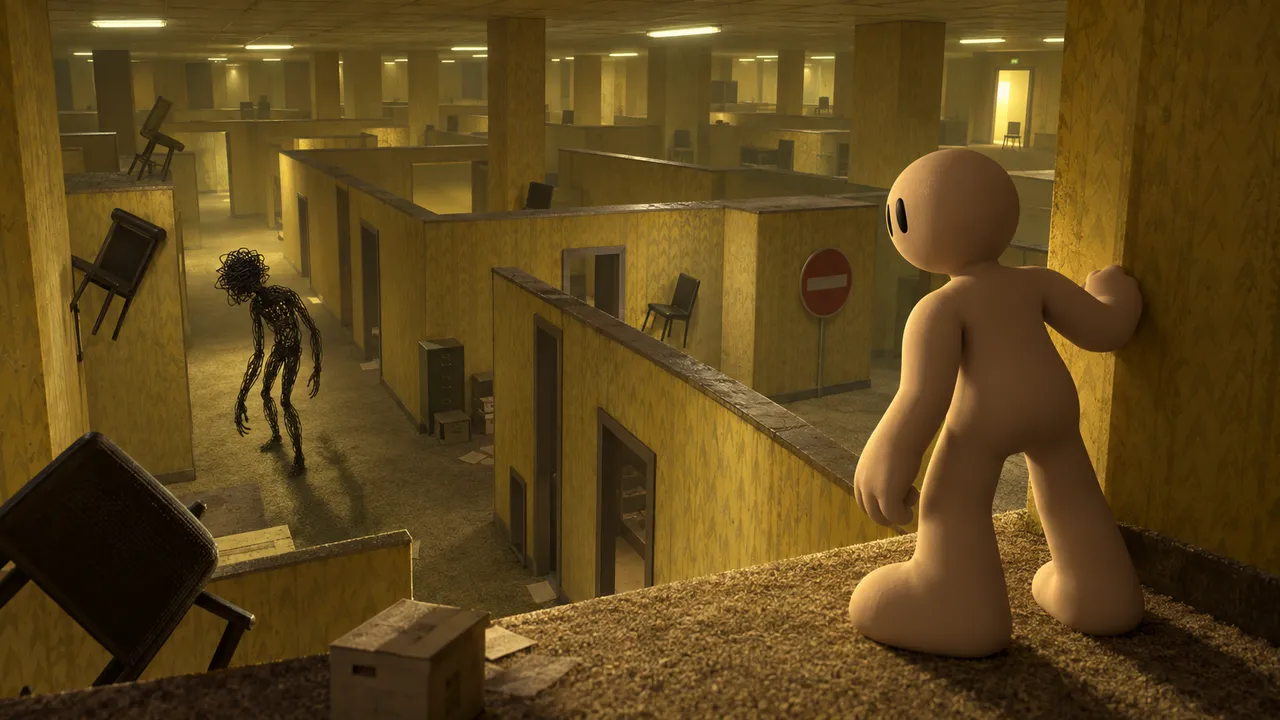
Explore an uncanny maze of yellow rooms and impossible furniture. Recover three memory fragments and find the exit before the rooms forget you.

A kart race on a twisting wooden track high above the clouds, with boost arrows and gems along the way.
The difficulty curve
Difficulty should rise across a level, but not in a straight line. The classic shape is a sawtooth: each section gets a bit harder, then drops back a little after a checkpoint or a reward, then climbs higher than before.
| Part of the level | Difficulty | What the player feels |
|---|---|---|
| Opening | Very easy | "I get it." |
| First challenge | Easy | "I can do this." |
| Breather | Easy | "Nice, a reward." |
| Main challenge | Medium to hard | "That was close." |
| Breather | Easy | "Let me catch my breath." |
| Finale | Hardest | "I finally did it!" |
Level design by genre
| Genre | What the level is about | Key tip |
|---|---|---|
| Obby and platformer | Jumps and timing | Space checkpoints every 5 to 8 jumps |
| Horror | Fear and not knowing | Limit sight lines, use sound to hint |
| Racing | Speed and lines | Make a few corners memorable, add one shortcut |
| Shooter arena | Positions and cover | Cover every few steps, no spot that is safe forever |
| Puzzle and escape | Finding and connecting | Each clue should point to the next one |
For the genre-specific details, see our guides on making an obby, making a horror game and making a racing game.
Level design checklist
Run through this list before you share a level:
- ✓ The goal is visible or clearly explained in the first seconds.
- ✓ Each new idea appears alone, in a safe spot, before it gets dangerous.
- ✓ Every danger is shown before it can hurt the player.
- ✓ Checkpoints come right after the hard parts.
- ✓ Hard sections are followed by a calm moment or a reward.
- ✓ Each area has a landmark, unless getting lost is the point.
- ✓ There is at least one optional choice: a shortcut, a secret, a bonus.
- ✓ The finale uses everything the level taught.
- ✓ Someone else played it, and you watched without helping.
Describe your level to Morph
On Arcade you can lay out a level section by section in plain words. Morph, Arcade's AI buddy, builds it with you, and you adjust it by chatting until it plays the way you planned.
Make an obby level called Lantern Peak with a glowing lantern at the top that the player can see from the start. Part 1: wide platforms to learn jumping. Part 2: the same jumps over a pit, then a checkpoint. Part 3: moving platforms, first over solid ground, then over the pit. A calm platform with coins and a checkpoint. Part 4: moving platforms next to swinging logs. Finish at the lantern.
Build it on ArcadeDesign it, play it, share it
Plan your sections, build them with Morph, playtest, adjust. Then share it with the world, straight from your browser.
Build your levelFAQ
What is level design?
Level design is building the spaces where a game is played: the layout, the challenges, the enemies, the rewards and the path the player takes through them.
What is the difference between level design and game design?
Game design decides the rules and mechanics: what the player can do. Level design uses those mechanics to build specific challenges and places.
How long should a level be?
For a first game, 2 to 5 minutes. Short levels are easier to balance and get replayed more.
How do I make a level hard but fair?
Teach every idea before testing it, show dangers before they hurt, and place checkpoints after hard parts. Players accept hard levels when they understand why they failed.
Can I design levels without coding?
Yes. On Arcade you build levels with Morph and change them by chatting: move a platform, add a checkpoint, make a corner wider.
Where can I practice level design for free?
On Arcade: it is free, it runs in your browser, and you can publish a level and see how real players rate it. Modding tools and free engines like Godot are good options too if you want to learn an editor.